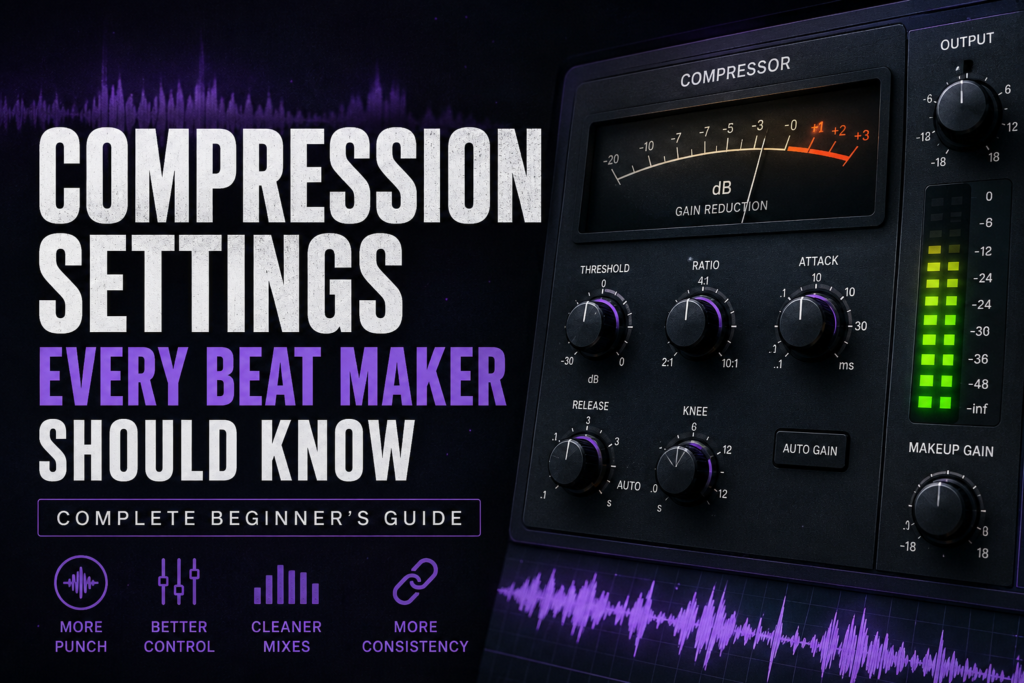
Compression is one of the most misunderstood tools in music production. Many beginner producers either avoid compressors completely or apply them to every track without understanding what they’re actually doing.
The truth is that compression isn’t about making your music louder. It’s about controlling dynamics, adding consistency, creating punch, and helping every element of your beat sit together in a professional mix.
Whether you’re producing hip-hop, trap, R&B, drill, or pop, learning how to use compression correctly can instantly make your beats sound cleaner and more polished.
In this guide, you’ll learn exactly what each compressor control does, how to use compression on different instruments, and the settings that work well as reliable starting points.
What Does Compression Actually Do?
A compressor automatically reduces the volume of the loudest parts of an audio signal.
Imagine a rapper recording vocals. Some words are much louder than others. Compression lowers those loud peaks so the performance becomes more balanced.
The same idea applies to drums, bass, pianos, guitars, synths, and even your entire mix.
The result is:
- More consistent volume
- Better control
- Increased punch
- Cleaner mixes
- Easier balancing
Compression is subtle when used correctly. You should usually feel the improvement more than hear obvious pumping or squashing.
Understanding the Main Compressor Controls
Before using presets, it’s important to understand what each knob actually does.
Threshold
The threshold determines when the compressor begins working.
Lower threshold = more compression
Higher threshold = less compression
Think of the threshold as the point where the compressor “wakes up.”
Ratio
Ratio determines how aggressively the signal is compressed.
Examples include:
- 2:1 = light compression
- 4:1 = moderate compression
- 8:1 = heavy compression
- 20:1 = limiting
For most beat production, ratios between 2:1 and 4:1 are all you need.
Attack
Attack controls how quickly compression starts.
Fast attack:
- Smooths transients
- Softens drums
- Creates tighter sounds
Slow attack:
- Preserves punch
- Lets kicks and snares hit harder
- Maintains excitement
Many producers accidentally use attacks that are too fast, removing the impact from their drums.
Release
Release controls how quickly the compressor stops working.
Fast release:
- More energetic
- Responsive
- Good for rhythmic material
Slow release:
- Smoother
- More transparent
- Better for sustained sounds
Finding the right release often makes the compressor feel “musical.”
Makeup Gain
Compression lowers peaks.
Makeup gain raises the output level afterward so the compressed signal matches the original loudness.
Always compare compressed and uncompressed signals at similar volumes. Louder almost always sounds better, even when it isn’t.
Compression Settings for Kick Drums
The kick is usually the foundation of your beat.
Most kicks already contain plenty of punch, so your goal is usually control rather than heavy compression.
Starting Point
- Ratio: 3:1
- Attack: 20–30 ms
- Release: 60–120 ms
- Gain Reduction: 2–4 dB
This keeps the kick powerful while maintaining consistency.
Compression Settings for Snares
Snare drums often benefit from slightly more compression.
A controlled snare cuts through busy mixes while keeping its energy.
Starting Point
- Ratio: 4:1
- Attack: 15–25 ms
- Release: 70–120 ms
- Gain Reduction: 3–5 dB
Should You Compress Hi-Hats?
Usually, no.
Most modern hi-hats are already heavily processed.
Compression often makes them harsher instead of better.
Instead, focus on:
- Volume
- EQ
- Stereo placement
Only compress hi-hats if their dynamics are inconsistent.
Compression Settings for 808s
This surprises many beginners:
Most modern 808 samples don’t need compression.
They’re already extremely consistent.
Instead of compressing, focus on:
- Saturation
- Clipping
- Distortion
- Proper leveling
- Sidechain when necessary
If you do compress an 808:
- Ratio: 2:1
- Slow attack
- Medium release
- 1–3 dB gain reduction
Anything more usually removes impact.
Compression on Melodies
Pianos, Rhodes, guitars, and synths often benefit from gentle compression.
The goal isn’t to squash them.
It’s simply to smooth out uneven playing.
Starting Point
- Ratio: 2:1
- Slow attack
- Medium release
- Gain Reduction: 2–3 dB
The listener shouldn’t notice the compressor working.
Drum Bus Compression
Instead of compressing every drum individually, many professional producers compress the entire drum bus.
This helps all the drums feel like they’re part of one performance.
Good starting settings:
- Ratio: 2:1
- Slow attack (20–30 ms)
- Medium release
- Gain Reduction: 1–3 dB
This is often called glue compression because it makes separate drum sounds feel connected.
Parallel Compression
Parallel compression is one of the easiest ways to make drums sound huge.
Instead of heavily compressing the original drums:
- Duplicate the drum bus.
- Compress the duplicate aggressively.
- Blend it underneath the original.
The original keeps its punch.
The duplicate adds weight and energy.
This technique is used on countless commercial records.
Common Compression Mistakes
Compressing Everything
Not every sound needs compression.
If everything is compressed, nothing feels dynamic.
Using Extremely Fast Attack Times
Fast attacks can remove the initial hit of kicks and snares.
Unless you’re intentionally softening drums, leave some room for the transient.
Chasing Loudness
Compression isn’t a volume tool.
If your only goal is making the beat louder, clipping or limiting is usually the better solution.
Ignoring Gain Reduction
Watch the gain reduction meter.
Most tracks only need around 2–4 dB of compression.
Seeing 10 dB of gain reduction is usually a sign you’re overdoing it.
Beginner Compression Cheat Sheet
| Instrument | Ratio | Attack | Release | Gain Reduction |
|---|---|---|---|---|
| Kick | 3:1 | 20–30 ms | 60–120 ms | 2–4 dB |
| Snare | 4:1 | 15–25 ms | 70–120 ms | 3–5 dB |
| 808 | 2:1 | Slow | Medium | 1–3 dB |
| Piano | 2:1 | Slow | Medium | 2–3 dB |
| Guitar | 2:1 | Slow | Medium | 2–3 dB |
| Drum Bus | 2:1 | 20–30 ms | Medium | 1–3 dB |
| Master Bus | 1.5:1–2:1 | Slow | Auto/Medium | 1–2 dB |
Remember that these settings are starting points—not rules. Every sound, sample, and performance is different, so let your ears guide the final adjustments.
Final Thoughts
Compression isn’t about crushing your audio—it’s about shaping it. A few subtle adjustments can make drums hit harder, melodies sit more naturally in the mix, and your entire production feel more cohesive.
As you gain experience, you’ll rely less on preset values and more on listening carefully. Until then, these settings provide a dependable foundation for producing professional-sounding beats.
Master compression one instrument at a time, compare your work against reference tracks, and don’t be afraid to bypass the compressor occasionally. If you can’t hear an improvement, you probably don’t need it.
The best producers don’t use more compression—they use it more intentionally.