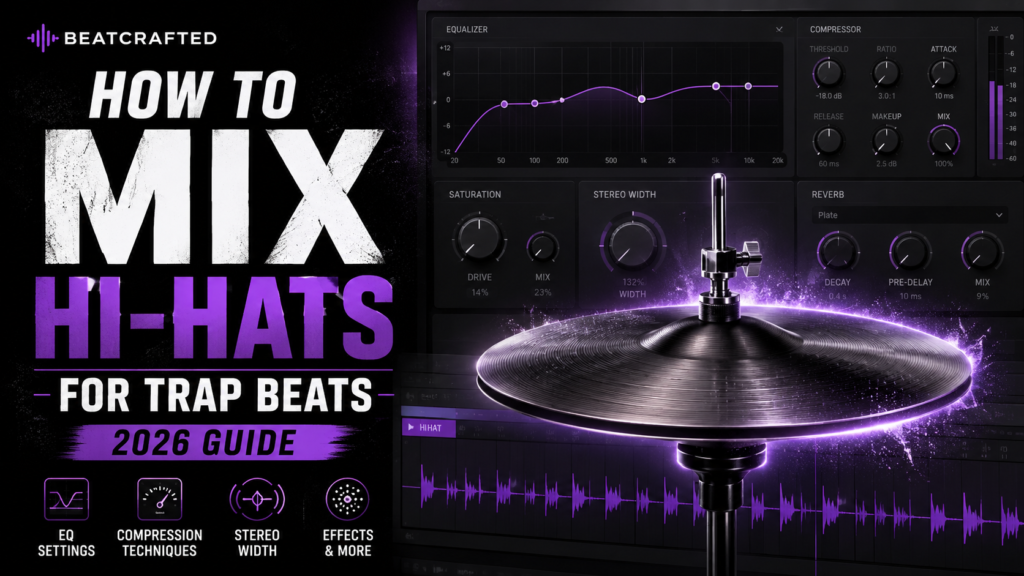
 How to Mix Hi-Hats for Trap Beats (2026 Guide)
Trap music has evolved dramatically over the last decade, but one thing has remained constant: hi-hats drive the energy of the beat. From rapid-fire rolls to subtle rhythmic accents, hi-hats help create movement, excitement, and groove. Unfortunately, they’re also one of the easiest elements to overprocess.
If your hi-hats sound harsh, thin, lifeless, or painfully loud, you’re not alone. Many producers struggle to find the right balance between crispness and musicality.
In this guide, you’ll learn how to mix hi-hats for trap beats using practical techniques that work in any DAW, whether you’re producing in Reason, FL Studio, Ableton Live, Logic Pro, or another production environment.
Why Hi-Hats Matter in Trap Production
Modern trap beats rely heavily on percussion. While the 808 provides weight and the snare delivers impact, hi-hats create momentum.
Well-mixed hi-hats should:
- Cut through the mix without sounding harsh
- Add excitement without becoming distracting
- Leave room for vocals
- Complement the snare and percussion
- Maintain clarity on headphones, earbuds, and speakers
Great hi-hats are noticeable without demanding attention.
Start With a Great Sample
Mixing begins long before you reach for an EQ.
A poor-quality hi-hat sample is difficult to fix later.
Look for samples that have:
- Clean transients
- Minimal background noise
- Bright but controlled high frequencies
- Consistent volume
- A natural decay
Premium drum kits often require less processing than heavily compressed free samples.
Set the Right Volume First
One of the biggest mistakes new producers make is simply turning the hi-hats up too loud.
Instead, build your mix around balance.
As a starting point:
- Mix the kick first
- Add the snare
- Blend the 808
- Introduce the hi-hats until they feel present—not dominant
If your hats disappear after lowering the volume, they probably need better EQ rather than more level.
Clean Up the Low End
Hi-hats don’t need low frequencies.
Applying a high-pass filter removes unnecessary rumble and creates more room for the kick and bass.
A good starting point is:
- High-pass between 250–400 Hz
Don’t obsess over exact numbers—use your ears. The goal is to remove information that doesn’t contribute to the sound.
Reduce Harsh Frequencies
Trap hi-hats often become fatiguing because of excessive energy in the upper mids.
If your ears start hurting after a few minutes of listening, check these areas:
- 5–8 kHz
- 8–10 kHz
Use a narrow EQ cut only when necessary.
Small adjustments of 1–3 dB are often enough.
Remember:
Less EQ usually sounds more natural.
Add Air Carefully
Sometimes hi-hats sound dull rather than harsh.
A gentle high-shelf boost around:
- 10–14 kHz
can add sparkle and openness.
Avoid excessive boosts, especially if you’re already using bright samples.
Do You Need Compression?
Usually…
No.
Hi-hats naturally have short transients and consistent dynamics.
Compression is only useful when:
- Layering multiple hats
- Using live-recorded percussion
- Controlling inconsistent performances
- Low ratio (2:1)
- Medium attack
- Fast release
- Only 1–3 dB of gain reduction
Many trap producers skip compression altogether.
Use Saturation Instead of Heavy Compression
If your hi-hats sound sterile, saturation often works better than compression.
Subtle saturation can:
- Add harmonics
- Increase perceived loudness
- Make hats feel fuller
- Improve translation on small speakers
Great options include:
- Tape saturation
- Analog console emulation
- Soft clipping
- Tube saturation
Keep it subtle—you should hear improvement, not distortion.
Create Stereo Width
Modern trap mixes often feature wide percussion.
Some simple techniques include:
Slight Panning
Alternate hats slightly left and right to create movement.
Stereo Imagers
Use stereo widening sparingly.
Too much width can cause phase issues.
Layering
Pan different hi-hat layers independently for a wider image while keeping the primary hat centered.
Use Reverb Sparingly
Most trap hi-hats stay fairly dry.
However, adding a very small room or plate reverb can create depth.
Good starting settings include:
- Decay: 0.2–0.6 seconds
- Low mix percentage
- High-pass the reverb return
The listener should feel the space rather than clearly hear the effect.
Delay for Creative Texture
Delay is less common than reverb but can create interesting transitions.
Experiment with:
- Ping-pong delay
- Quarter-note throws
- Automated delays before hooks
Use delay as an effect rather than leaving it active throughout the entire beat.
Add Movement With Automation
Static hi-hats can make a beat feel repetitive.
Automation creates subtle evolution.
Automate things like:
- Volume
- Filter cutoff
- Stereo width
- Reverb amount
- Pitch
- Delay sends
Small changes every few bars help keep listeners engaged.
Make Hi-Hat Rolls Stand Out
Trap hi-hat rolls are a defining characteristic of the genre.
Instead of simply increasing note density, try:
- Lowering velocity on repeated notes
- Pitching selected hits
- Adding reverse hats
- Automating filters
- Introducing occasional open hats
Variation sounds more musical than constant repetition.
Mix Hi-Hats in Context
Never EQ or process hi-hats while soloed.
Always listen with:
- Kick
- Snare
- 808
- Melody
- Vocals (if available)
The perfect solo sound rarely becomes the perfect mix sound.
Focus on how everything works together.
Common Hi-Hat Mixing Mistakes
Making Them Too Loud
Brightness already attracts attention.
Louder isn’t better.
Over-EQing
Massive boosts usually create harshness.
Small moves are more effective.
Overusing Stereo Effects
Excessive widening weakens mono compatibility.
Ignoring Dynamics
Velocity changes make programmed drums feel more human.
Using Too Much Reverb
Long reverbs wash out fast trap rhythms.
Recommended Plugins for Mixing Hi-Hats
While stock plugins can produce professional results, these tools can make the process even easier:
- FabFilter Pro-Q 4 for transparent EQ and surgical cuts
- Soundtoys Decapitator for tasteful analog saturation
- FabFilter Saturn for multiband saturation and harmonic enhancement
- Arturia Dist COLDFIRE for creative distortion and texture
- Sonnox Oxford EQ for musical tone shaping
- iZotope Neutron for intelligent mixing assistance
Each of these plugins can help you refine your hi-hats while maintaining clarity and musicality.
Final Thoughts
Learning how to mix hi-hats for trap beats is less about piling on plugins and more about making thoughtful decisions. Start with a quality sample, set an appropriate volume, clean up unnecessary frequencies, and apply effects only when they genuinely improve the sound.
Remember that every beat is different. Some hi-hats need almost no processing, while others benefit from subtle EQ, saturation, or stereo enhancement. Trust your ears, compare your mixes against professionally released tracks, and make small adjustments rather than drastic changes.
Over time, you’ll develop an instinct for placing hi-hats perfectly in the mix—giving your trap beats the polish, clarity, and energy that listeners expect from professional productions.