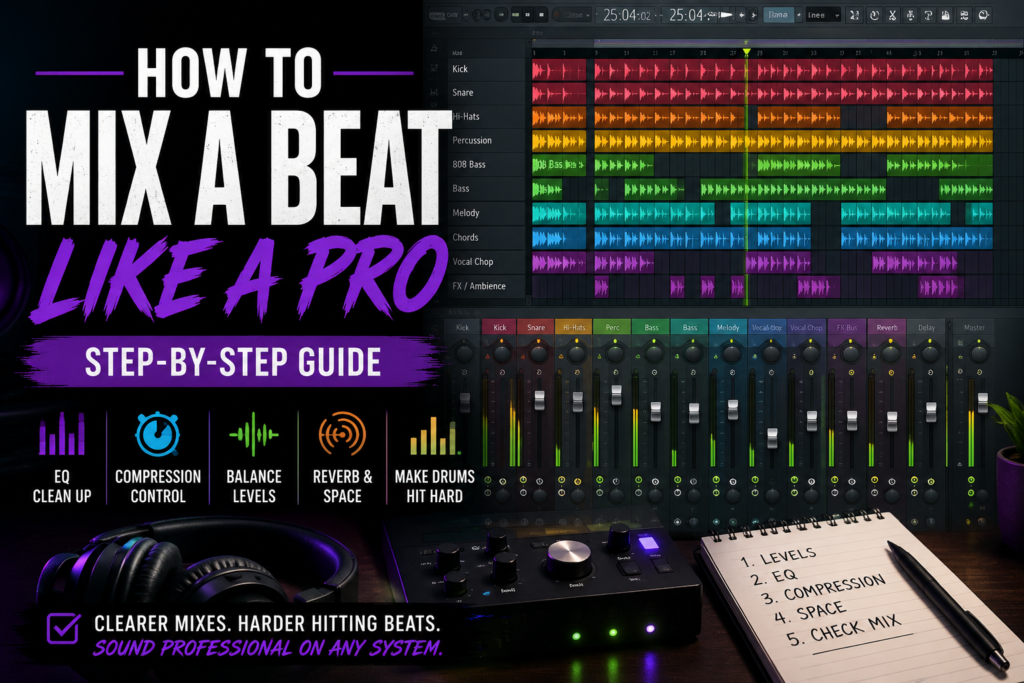
 How to Mix a Beat Like a Pro (Beginner-Friendly Step-by-Step Guide)
Mixing is often the difference between a beat that sounds amateur and one that sounds ready for an artist to record over. You don’t need a room full of expensive analog gear or hundreds of plugins to create a professional mix. In fact, some of the best beat makers rely on a simple, repeatable workflow that helps every instrument sit in its own space.
Whether you produce hip-hop, trap, R&B, drill, or pop, learning how to mix a beat is one of the most valuable skills you can develop. A great mix allows your drums to punch, your melodies to breathe, and your 808 to hit without overpowering everything else.
In this guide, you’ll learn a beginner-friendly mixing process that you can use in any DAW, including FL Studio, Reason, Ableton Live, Logic Pro, and Cubase.
Why Mixing Matters
Think of your beat like a basketball team.
Every player has a role. If every player tries to shoot every possession, the team falls apart.
Your mix works the same way.
Every sound should have its own place in the frequency spectrum, stereo field, and dynamic range. Mixing helps your instruments work together instead of competing against each other.
A good mix will:
- Make your drums hit harder
- Improve clarity
- Create depth and space
- Prevent muddiness
- Help artists hear themselves over the beat
- Translate better on phones, cars, headphones, and studio monitors
Remember, you can’t fix a bad beat with mixing—but you can make a great beat sound even better.
Step 1: Organize Your Session
Professional mixes start with organization.
Before touching a single plugin, spend a few minutes cleaning up your project.
A simple session might look like this:
- Kick
- Snare
- Hi-Hats
- Percussion
- 808
- Bass
- Keys
- Pads
- Lead Melody
- FX
- Vocal Chops
Color-code similar tracks and group them into buses whenever possible.
For example:
Drum Bus
- Kick
- Snare
- Hats
- Percussion
Music Bus
- Piano
- Pads
- Synths
- Strings
FX Bus
- Risers
- Impacts
- Ambience
A clean session makes mixing much faster.
Step 2: Set Your Levels First
Many beginner producers reach for EQ or compression immediately.
Don’t.
Your volume faders are your most powerful mixing tool.
Start by pulling every channel down.
Then slowly bring each instrument back into the mix.
A simple order is:
- Kick
- 808
- Snare
- Hi-Hats
- Chords
- Melody
- FX
If the balance sounds good using only the volume faders, you’re already halfway to a great mix.
Aim to leave around -6 dB of headroom on your master channel before mastering.
Step 3: Clean Up Your Mix With EQ
EQ helps every instrument occupy its own space.
Instead of boosting everything, focus on removing frequencies that aren’t needed.
Here are a few general guidelines:
Kick
- Boost the low-end if needed.
- Remove muddy low-mids.
808
- Let it dominate the sub frequencies.
- Reduce clashing frequencies with the kick.
Hi-Hats
- Roll off unnecessary low frequencies.
- Add brightness only if needed.
Melodies
- High-pass to remove rumble.
- Cut muddy frequencies around the low mids when necessary.
Remember:
Cut first. Boost second.
Small EQ adjustments usually sound more natural than aggressive boosts.
Step 4: Use Compression Wisely
Compression controls dynamics by reducing the difference between the loudest and quietest parts of a sound.
You don’t need compression on every track.
Use it where it adds value.
Compression works especially well on:
- Drum buses
- Bass
- Vocals
- Piano
- Guitar
Avoid over-compressing your mix.
Too much compression removes energy and can make your beat sound flat.
If you can clearly hear the compressor working, you’ve probably gone too far.
Step 5: Create Depth With Reverb and Delay
A completely dry mix often sounds lifeless.
Reverb and delay create space and dimension.
Common uses include:
Short Reverb
Perfect for:
- Snare
- Piano
- Vocal chops
Long Reverb
Great for:
- Pads
- Ambient textures
- FX
Delay
Excellent for:
- Lead melodies
- Vocal chops
- Synth plucks
A little goes a long way.
Too much ambience quickly makes a beat sound muddy.
Step 6: Make Your Drums Hit Hard
Drums are the heartbeat of most modern beats.
Your kick and 808 should work together—not fight each other.
Some simple tips include:
- Choose samples that already sound good.
- Avoid layering too many kicks.
- Adjust the timing if the kick and 808 are clashing.
- Use subtle saturation for added character.
- Keep your snare loud enough to cut through the mix.
Strong source sounds will always beat excessive processing.
Step 7: Use Stereo Width Carefully
Not every sound should be wide.
A common mixing approach is:
Center
- Kick
- 808
- Snare
Wide
- Pads
- Synths
- Background textures
- FX
Keeping your low-end centered creates a more powerful and stable mix.
Step 8: Check Your Mix on Multiple Systems
A mix that sounds amazing on studio monitors might fall apart on earbuds.
Before calling your beat finished, listen on:
- Headphones
- Laptop speakers
- Phone speaker
- Car stereo
- Bluetooth speaker
If your beat sounds balanced everywhere, you’re on the right track.
Step 9: Compare Against Reference Tracks
Professional producers constantly compare their mixes to commercially released songs.
Choose a professionally mixed track that’s similar in style.
Pay attention to:
- Drum loudness
- Bass level
- Vocal space
- Stereo width
- Overall balance
Don’t try to copy it exactly.
Instead, use it as a benchmark for quality.
Common Mixing Mistakes
Mixing Too Loud
Turn your speakers down.
You’ll make better decisions at moderate listening levels.
Using Too Many Plugins
More plugins don’t automatically create better mixes.
Many professional beats use only EQ, compression, saturation, and reverb.
Overusing Reverb
Too much reverb pushes sounds to the back of the mix.
Keep your important instruments clear and present.
Ignoring Headroom
Leave enough space for mastering.
If your master channel is constantly clipping, turn everything down instead of relying on a limiter.
Forgetting the Artist
If you’re creating beats for artists, remember that the vocal should be the star of the record.
Leave enough space for someone to perform over your production.
A Simple Beat Mixing Checklist
Before exporting your beat, ask yourself:
- Are the drums balanced?
- Can I clearly hear every instrument?
- Is the 808 overpowering the mix?
- Have I removed unnecessary low frequencies?
- Does the mix sound good on headphones and speakers?
- Have I left enough headroom?
- Does the beat compare well to professional releases?
If you can answer “yes” to each question, you’re ready to bounce your mix.
Final Thoughts
Learning how to mix a beat is a skill that improves with every project you finish. Don’t chase perfection on your first few mixes. Instead, focus on developing a repeatable workflow that helps you make consistent improvements over time.
Start with strong sounds, organize your session, balance your levels, use EQ and compression with intention, and always compare your work to professional reference tracks.
The more beats you finish, the faster your ears will develop—and that’s when your mixes will truly begin to sound professional.
A great mix isn’t about owning the most expensive plugins. It’s about making thoughtful decisions that allow every element of your beat to shine.