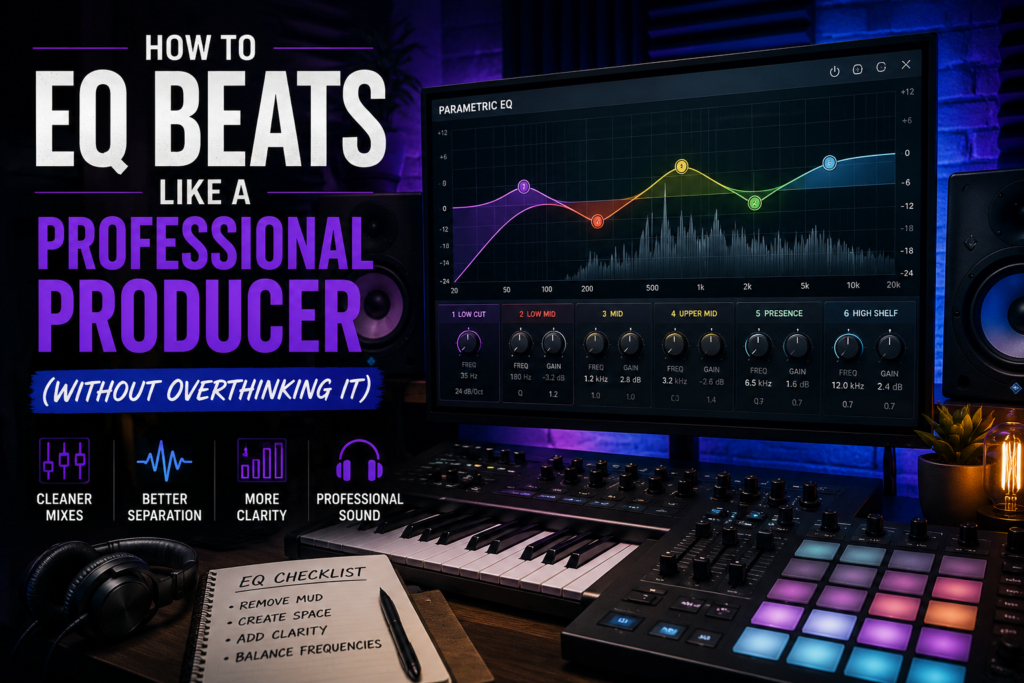
 How to EQ Beats Like a Professional Producer (Without Overthinking It)
Equalization, better known as EQ, is one of the most powerful tools in music production. It’s also one of the most misunderstood.
Many new producers think the secret to a professional mix is boosting every instrument until it sounds bigger. In reality, professional mixes often sound cleaner because engineers remove unnecessary frequencies rather than adding more.
Whether you’re producing hip-hop, trap, R&B, drill, lo-fi, or pop, learning how to use EQ properly will help your beats sound clearer, more balanced, and more professional.
In this guide, you’ll learn what EQ does, how to use it on the most common instruments, and the simple workflow professional producers use to create space in a mix without overthinking every decision.
What Is EQ?
EQ (Equalization) allows you to adjust the volume of specific frequency ranges within an audio signal.
Instead of making an entire instrument louder or quieter, EQ lets you shape its tone.
You can use EQ to:
- Remove unwanted frequencies
- Add clarity
- Reduce muddiness
- Create separation between instruments
- Make important sounds stand out in the mix
Think of EQ as sculpting. Rather than adding more clay, you’re carefully carving away what doesn’t belong so the final shape is more defined.
Understanding the Frequency Spectrum
Knowing roughly where different sounds live makes EQ decisions much easier.
Sub Bass (20–60 Hz)
- Deep rumble
- Felt more than heard
- Mostly used by 808s and cinematic effects
Bass (60–250 Hz)
- Weight
- Punch
- Body of kicks and bass instruments
Low Mids (250–500 Hz)
This area often creates muddy mixes when too many instruments compete for space.
Midrange (500 Hz–2 kHz)
This is where much of the musical information lives.
Pianos, synths, guitars, vocals, and snares all occupy this range.
Upper Mids (2–5 kHz)
Adds attack and presence.
Too much can make a mix harsh or fatiguing.
Highs (5–10 kHz)
Provides brightness and detail.
Hi-hats, percussion, and vocal clarity often live here.
Air (10–20 kHz)
Adds openness and sparkle.
Small boosts can make a mix feel more polished without becoming harsh.
When Should You Cut Instead of Boost?
One of the biggest differences between beginners and experienced mix engineers is knowing when to remove frequencies instead of adding them.
For example:
Instead of boosting your piano to make room for vocals, try reducing a small amount of competing frequencies in the piano.
Instead of boosting your kick, remove a little low-end from competing instruments.
Small cuts often sound more natural than large boosts.
As a general rule:
- Cut to solve problems.
- Boost only when something genuinely needs more character or presence.
How to EQ Your Kick
The kick provides the foundation of many modern beats.
Common EQ goals include:
- Remove unnecessary sub-rumble below the useful range if needed.
- Add a touch of attack if the kick lacks definition.
- Reduce muddy low mids if the kick feels boxy.
Always listen in the context of the full mix.
A kick that sounds huge by itself may overpower everything else once the beat is complete.
How to EQ Your 808
The 808 should work with the kick—not compete against it.
Helpful techniques include:
- Remove unnecessary ultra-low rumble.
- Reduce muddy frequencies if the bass lacks definition.
- Add subtle harmonics with saturation before reaching for aggressive EQ.
If your 808 disappears on smaller speakers, harmonics often help more than excessive boosting.
How to EQ Your Snare
A snare should cut through the mix without sounding harsh.
Depending on the sample, you may want to:
- Reduce boxiness in the low mids.
- Enhance snap in the upper mids.
- Add brightness only if needed.
Remember that every sample is different.
Trust your ears more than preset numbers.
How to EQ Hi-Hats and Percussion
Hi-hats naturally contain a lot of high-frequency content.
Common adjustments include:
- Remove unnecessary low frequencies.
- Reduce harshness if hats become fatiguing.
- Slightly soften bright samples that compete with vocals or leads.
Small changes usually produce better results than dramatic EQ curves.
How to EQ Pianos, Synths, and Melodies
Melodic instruments often occupy a wide frequency range.
A few simple adjustments can create significant clarity:
- Remove unnecessary low frequencies that interfere with the kick and bass.
- Reduce muddy low mids if several instruments overlap.
- Leave room for lead melodies or vocals by making gentle cuts instead of boosting everything.
Sometimes lowering the track by 1–2 dB creates more separation than adding another EQ plugin.
Don’t EQ Every Track in Solo
One of the biggest mistakes producers make is mixing each instrument by itself.
Professional mixes are created in context.
An instrument that sounds thin on its own may fit perfectly once every element is playing together.
Always make final EQ decisions while listening to the full beat.
Common EQ Mistakes
Boosting Every Instrument
If everything is boosted, nothing stands out.
Use EQ with purpose.
Using Huge Boosts
Large boosts often introduce harshness and unnatural tone.
Small, intentional moves usually sound more musical.
Ignoring Frequency Masking
When multiple instruments share the same frequency range, they compete for attention.
Instead of boosting both, create space by reducing competing frequencies on one of them.
Chasing Visual Curves
Many EQ plugins look impressive, but your ears are more important than the graph on the screen.
A beautiful EQ curve doesn’t guarantee a better mix.
A Simple EQ Workflow
Here’s a straightforward process you can follow on every beat:
- Balance your levels before adding EQ.
- Remove obvious unwanted frequencies.
- Listen for masking between instruments.
- Make small cuts where needed.
- Add gentle boosts only if they improve the sound.
- Compare your EQ decisions by bypassing the plugin.
- Listen to the entire mix before making additional changes.
- Compare your beat with a professionally mixed reference track at the same playback volume.
This workflow helps you stay focused on the song instead of endlessly tweaking plugins.
Final Thoughts
EQ isn’t about making every sound bigger—it’s about helping every sound find its place.
The best producers don’t rely on extreme settings or complicated plugin chains. They make small, intentional adjustments that allow each instrument to shine without competing for the same space.
As you continue improving your mixing skills, remember that clarity almost always beats loudness. When your kick, 808, melodies, drums, and effects each have room to breathe, your beats will sound more professional before they ever reach the mastering stage.
Master EQ, and you’ll have one of the most valuable tools in your production arsenal.
Frequently Asked Questions
Should I EQ every track?
Not necessarily. If a sound already fits the mix well, it may not need any EQ at all.
Is cutting better than boosting?
In many cases, yes. Gentle cuts can solve masking and muddiness without introducing harshness.
What’s the best EQ plugin?
Nearly every modern DAW includes a capable stock EQ. Learning how to use it effectively is more important than buying a premium plugin.
Should I EQ before or after compression?
It depends on the situation. Many producers use EQ before compression to remove unwanted frequencies, then apply another EQ afterward for final tonal shaping if needed.