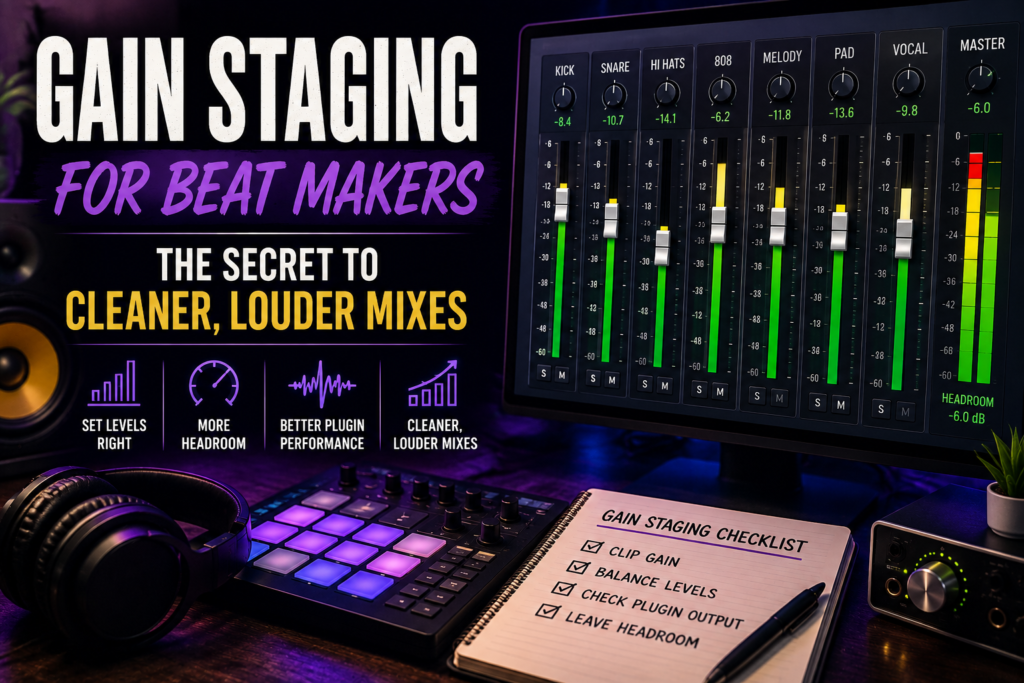
 If you’ve ever wondered why professional beats sound clean, punchy, and loud while your mixes seem distorted, muddy, or lacking impact, the answer may have nothing to do with expensive plugins or high-end studio equipment. More often than not, the difference comes down to one overlooked skill: gain staging.
Many new producers believe that turning every track up will make their beat sound bigger. In reality, pushing every channel into the red creates distortion, reduces clarity, and leaves little room for mixing or mastering. Professional producers understand that loudness is achieved through balance, not excessive volume.
Whether you’re producing hip-hop, trap, R&B, drill, or pop, learning how to gain stage your sessions will make every plugin work better, preserve valuable headroom, and give you cleaner, more professional mixes.
In this guide, you’ll learn what gain staging is, why it matters, and how to apply it to every beat you create.
What Is Gain Staging?
Gain staging is the process of controlling signal levels throughout your entire production so that every sound passes through your mix at an appropriate volume without clipping or overloading plugins.
Think of your mix like a relay race. Every instrument passes its signal to the next stage:
- Audio clip
- Channel input
- EQ
- Compression
- Saturation
- Effects
- Mixer
- Master bus
If one stage is too loud, every stage after it has to compensate. That often leads to distortion, poor dynamics, and an unbalanced mix.
Instead of trying to fix problems later, gain staging prevents them from happening in the first place.
Why Gain Staging Matters
Professional mixes don’t sound polished because they’re louder. They sound polished because every sound has room to breathe.
Proper gain staging offers several important advantages.
Cleaner Mixes
When instruments aren’t fighting for space, every element becomes easier to hear.
Your kick cuts through.
Your snare stays crisp.
Your vocals remain clear.
Your 808 hits hard without overwhelming everything else.
Better Plugin Performance
Many plugins—especially analog-style EQs, compressors, tape emulations, and saturators—are designed to perform best when they receive moderate input levels.
Feeding them signals that are too hot can create unwanted distortion or unpredictable behavior.
Maintaining consistent signal levels allows your plugins to produce smoother, more musical results.
More Headroom
Headroom is simply the unused space between your loudest peak and digital clipping.
Leaving headroom makes it easier to:
- Add effects later
- Automate volume
- Master your beat
- Export clean mixes
A crowded master bus limits your flexibility during the final stages of production.
Easier Mastering
A mastering engineer can’t undo severe clipping or distortion introduced during mixing.
Delivering a well-balanced mix with sufficient headroom makes mastering faster, cleaner, and more effective.
Even if you master your own beats, you’ll notice that limiters perform much better when they aren’t trying to repair an overloaded mix.
Start Every Mix With Conservative Levels
One of the easiest habits to develop is starting with everything turned down.
Instead of loading your beat and immediately pushing faders upward, lower every channel before building your mix.
Then begin raising each instrument gradually.
Many professional mixers intentionally keep individual channels well below maximum volume.
This creates room for every instrument while preventing the master channel from clipping.
A mix that looks quiet during production often becomes surprisingly loud after mastering.
Understand Clip Gain vs. Fader Volume
Many DAWs provide two different ways to adjust volume.
Clip Gain
Clip gain changes the actual level of the audio before it reaches your plugins.
This is often the best place to fix recordings that are too loud or too quiet.
Channel Faders
Faders adjust the level after the signal has already passed through much of the processing chain.
Using clip gain first keeps your plugins operating within their ideal range.
Think of clip gain as preparing the ingredient before cooking, while the fader controls the final serving.
Gain Stage Every Plugin
One mistake many producers make is forgetting that plugins can dramatically change signal levels.
For example:
- An EQ boost increases output volume.
- Saturation often adds gain.
- Compression can reduce or increase loudness.
- Distortion plugins frequently raise signal levels.
After applying each plugin, compare the processed signal with the original.
If the plugin makes the track noticeably louder, lower the output gain until both versions are roughly the same volume.
This technique—often called gain matching—helps you judge whether the plugin is actually improving the sound rather than simply making it louder.
Avoid Chasing Loudness Too Early
Streaming platforms normalize playback volume, meaning your mix doesn’t need to be as loud as possible during production.
Instead of chasing loudness, focus on creating a balanced mix.
A clean mix with proper dynamics almost always sounds better than an overly compressed mix that sacrifices clarity for volume.
Leave loudness for the mastering stage.
Watch Your Master Bus
Your master meter tells you the overall health of your mix.
If the master channel constantly reaches 0 dBFS or enters the red, something is too loud.
Rather than placing a limiter on the master immediately, identify which instruments are causing the overload.
Reducing several tracks by a small amount usually sounds much better than aggressively limiting the entire mix.
A little balance goes a long way.
Gain Staging Your Drums
Drums are often the loudest elements in a beat, making them an excellent starting point.
A common workflow is:
- Set the kick first.
- Balance the snare.
- Blend hi-hats.
- Add percussion.
- Introduce the 808.
- Mix melodic instruments around the rhythm section.
This approach creates a solid foundation before introducing pads, pianos, synths, guitars, or vocals.
Remember, every beat is different. Trust your ears more than fixed numbers.
Gain Staging Your 808
Your 808 deserves special attention because it occupies so much of the frequency spectrum.
Avoid the temptation to make it dominate the entire mix.
Instead:
- Tune it correctly.
- Balance it against the kick.
- Leave enough headroom for mastering.
- Add saturation before simply increasing volume.
If your 808 disappears, the solution is often better harmonics—not a higher fader.
Mixing at Comfortable Listening Levels
Many producers mix too loudly.
When monitoring at excessive volume, your ears become fatigued more quickly and your perception of bass and high frequencies changes.
Working at moderate listening levels helps you make more accurate decisions and protects your hearing during long sessions.
Occasionally lower the volume even further.
If every important element remains audible, your balance is likely in good shape.
Common Gain Staging Mistakes
Avoid these habits if you want cleaner, more professional mixes.
Mixing in the Red
Digital clipping is rarely desirable during the mixing stage.
Turning Up Every Track
If everything is loud, nothing stands out.
Contrast creates impact.
Ignoring Plugin Output Levels
Always check whether a plugin is increasing volume unexpectedly.
Fixing Problems With the Master Fader
Lowering the master doesn’t solve an overloaded mix.
Balance individual tracks instead.
Using Limiters Too Early
Limiters belong near the end of the production process—not as a shortcut for poor gain staging.
A Simple Gain Staging Workflow
You don’t need a complicated process to achieve professional results.
Use this workflow every time you start a new beat:
- Import your sounds.
- Reduce overly loud samples with clip gain.
- Build a rough balance using channel faders.
- Add EQ and compression where needed.
- Gain match every plugin.
- Watch your master meter.
- Leave plenty of headroom before mastering.
Following the same routine on every project creates consistency and speeds up your workflow over time.
Final Thoughts
Gain staging isn’t the most exciting part of music production, but it may be one of the most valuable skills you’ll ever learn.
Clean, professional mixes begin long before mastering. They begin with thoughtful level management from the very first sound you load into your session.
By keeping your signals under control, preserving headroom, and balancing your instruments instead of chasing volume, you’ll create beats that sound clearer, punchier, and more professional on every playback system.
As your production skills grow, you’ll discover that great mixes aren’t built through louder plugins or expensive gear—they’re built through strong fundamentals. Gain staging is one of those fundamentals, and mastering it will improve every beat you make from this point forward.