GarageBand is often the starting point for anyone curious about music production or podcasting with Apple devices. It comes preinstalled on Macs and iOS devices, making it one of the easiest ways to learn digital audio workstations if you’re new to the world of making music on your computer. Here’s an all-in-one beginner’s guide to getting up and running with GarageBand, along with a batch of handy tips so you can create your first tracks without feeling overwhelmed or stuck.
Why GarageBand Is a Solid Choice for Beginners
GarageBand is well known for its super accessible interface and wide range of built-in tools. For newbies, it’s a welcoming space to practice creating beats, laying down vocals, or even playing around with guitar and keyboard effects. Its project templates and loops make getting started really simple, and all the controls are laid out in a way that doesn’t scare off first-timers. Plus, since it’s free with most Apple devices, you don’t have to make a big investment to start exploring music production.
I’ve seen a lot of people use GarageBand for everything from casual jamming to making video soundtracks or demo songs. With so much support and a huge community of users, finding answers and tips is usually just a quick search away. GarageBand’s free online resources, video tutorials, and beginner guides take a lot of the stress away from learning your first digital audio workstation.
First Steps With GarageBand
To get into GarageBand for the first time, you’ll want to set up your first project and explore the basic features. Here’s a straight-shooting breakdown of where it all begins and the keywords you’ll probably come across:
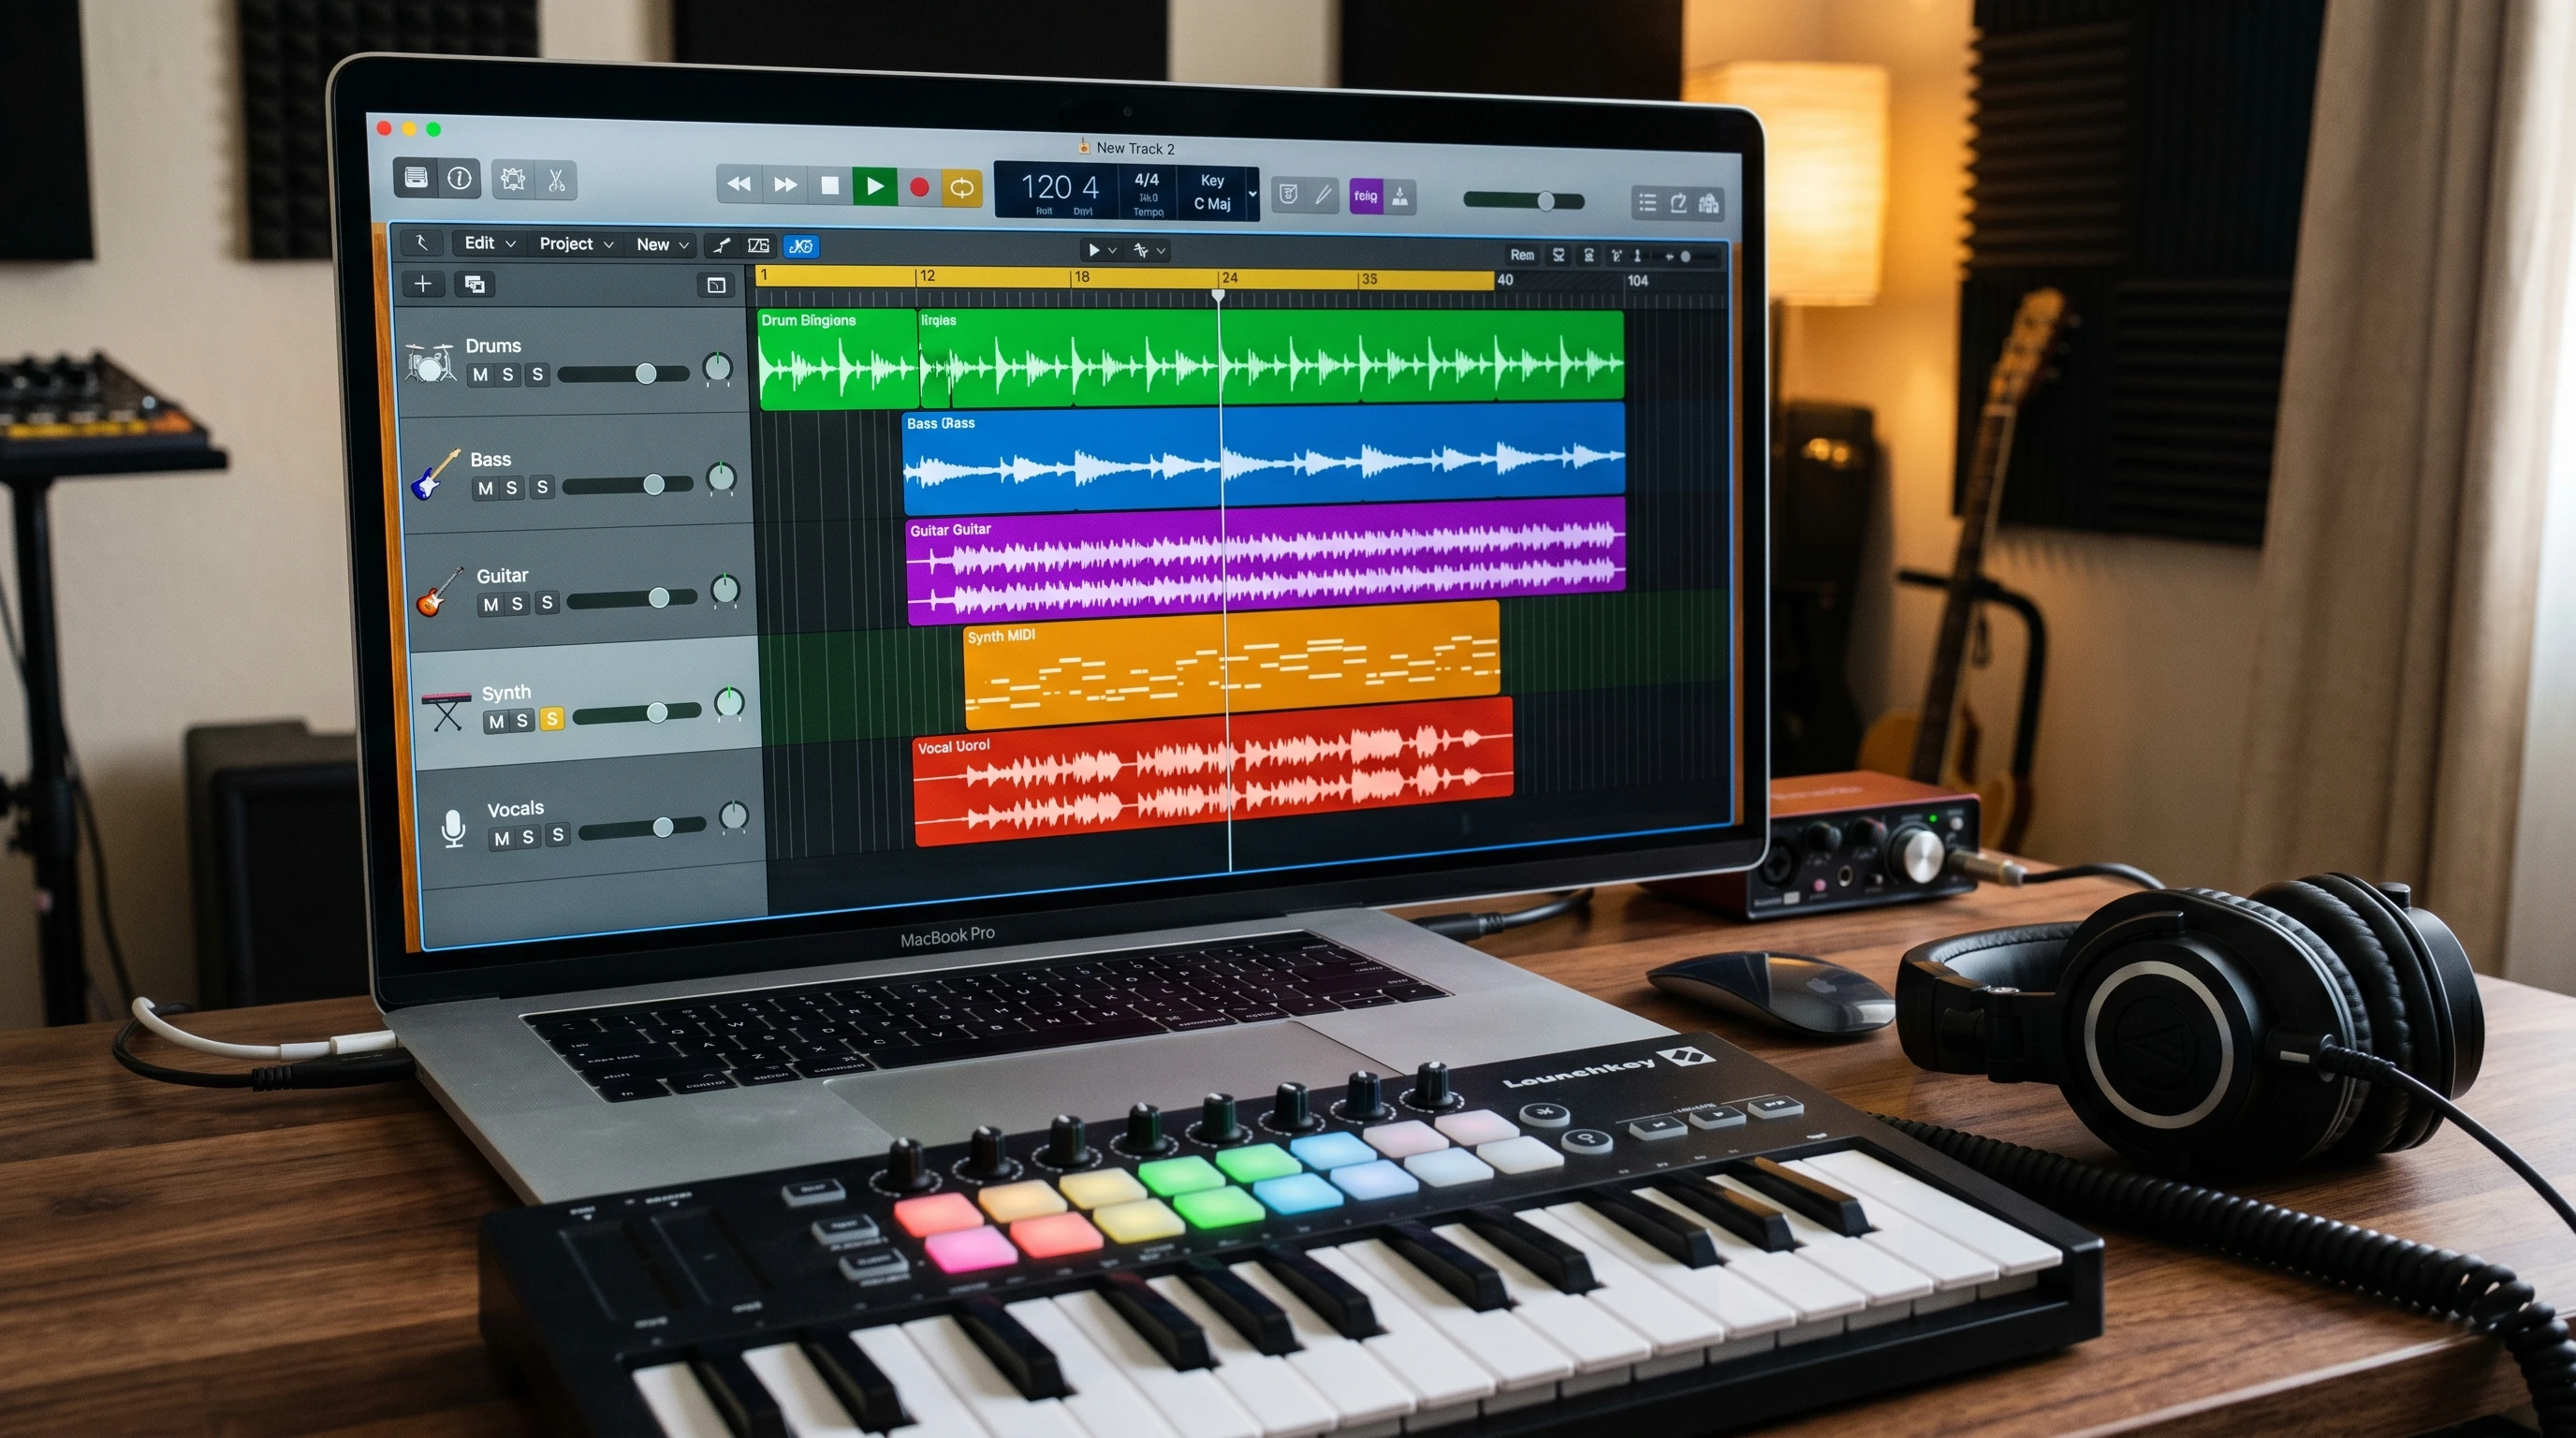
- Track Types: GarageBand splits tracks into Software Instrument, Audio, Drummer, and Guitar/Bass. Software Instrument tracks are for MIDI, meaning you can play virtual pianos, synths, and more with your keyboard or a MIDI controller. Audio tracks let you record vocals or live instruments.
- Loops: Prerecorded sounds you can drag and drop into projects for quick background beats, melodies, or effects.
- Smart Controls: Simple sliders and knobs you can use to change sounds, add effects, and tweak your tracks just the way you like them.
If you’re just setting up, start a new project, choose a template that matches what you want to make (like Song, Hip Hop, or Podcast), and add a couple of tracks to play around with. Trying out the different track types is a great way to see what feels most comfortable to you and to check in on what options work best for your creativity.
Quick Guide: Making Your First Song in GarageBand
Working through a first song helps you pick up the basics fast. Here’s a simple rundown you can follow to get your first tune off the ground in GarageBand:
- Open GarageBand and start a new project. Choose “Empty Project” for maximum flexibility and creative freedom.
- Add a track. For beginners, trying out a Software Instrument track and an Audio track (for vocals or guitar) works well.
- Pick a loop. Find something you like in the loop browser and drag it into a track. You can stack loops for drums, bass, or textures.
- Record something. Use the on-screen keyboard (for MIDI) or plug in a microphone or guitar to lay down your own part. Play with a few takes to see what fits your vibe.
- Tweak and arrange. Trim or loop your tracks, move things around, and use Smart Controls to add effects like reverb or echo for extra color.
- Bounce (export) your song. When you’re happy, go to Share > Export Song to Disk and save your track as an MP3 or WAV. That’s how you get your finished song out to friends or the internet.
Just experimenting with loops and simple recording can help you learn quickly. There’s no right or wrong approach; just try things and see what sounds you like. Don’t be afraid to mess up—you’ll pick up all sorts of tips along the way!
Common Beginner Challenges and How to Handle Them
It’s totally normal to run into a few issues early on. Here are some hurdles most new GarageBand users face, along with some ways to tone them down:
- Understanding Track Types: It’s easy to get mixed up between Software Instrument and Audio tracks. Remember: Software Instruments let you make music with your computer keyboard or a MIDI controller, and Audio tracks are for real-world sounds like your voice or a guitar.
- Timing and Rhythm: Not every first recording locks perfectly to the beat. Try using GarageBand’s built-in metronome and quantize feature to line up notes and clean up your sound.
- Mixing Levels: If your project sounds messy, the volume and pan sliders of each track help balance the levels and make space for every part.
- Effects Overload: GarageBand offers a wide range of effects but stacking them on every track usually makes it muddier. Go easy at first, focus on clarity, and build up as you’re more confident.
Getting Track Types Down
One thing most people run into right away is choosing the right track for what you want to do. If you play piano or enjoy making beats, opening a Software Instrument track is the way to have fun with digital sounds. If you’re plugging in a guitar or microphone, go for an Audio track. This choice at the start saves a lot of confusion later on.
Staying in Time
Playing along with the metronome (that little click) helps keep everything swinging together. If you record something that’s a bit off, just select the region and use “Quantize” in the editor. It’ll snap your notes or beats to the grid and keep things neat. This tool is super helpful in tightening up tracks that sound a little loose.
Mixing Basics
You don’t need advanced skills to get a solid mix. Start by adjusting each track’s volume and pan (moving things left or right in the speakers) so nothing’s blowing out the rest. This only takes a minute, and your song will sound much cleaner, no matter what headphones or speakers you use.
Effects Without Overdoing It
Add a little reverb to create some space, or try echo on vocals for a richer sound. GarageBand even comes with handy presets like “Vocal Bright” and “Electric Piano Dreamy”—those are great to try out before you start turning each knob manually.
Cool Features to Check Out in GarageBand
GarageBand packs in plenty of helpful features, making it ideal for beginners but with enough depth to help you grow your skills down the line.
- Drummer Track: This is an easy way to get authentic-sounding drum parts. Pick a style, adjust the feel (loud/soft, simple/complex), and GarageBand creates full drum performances that follow your arrangement automatically.
- Virtual Amps and Pedals: Guitarists and bassists can plug in and make use of digital amps and effects pedals. There are presets for classic rock, modern pop, and more, so experimenting is straight-up fun.
- Score Editor: If you like to read or write music, the Score Editor displays your parts in standard notation, letting you edit like real sheet music.
- Live Loops (iOS): GarageBand on iPad and iPhone lets you build songs in a grid by launching and mixing loops freestyle. It’s especially awesome for electronic or dance music fans.
If you end up doing podcasting, GarageBand’s Podcast track template smooths the way for adding intro music and sound effects. This really pumps up your final production without much work or new gear needed.
How Beginners Use GarageBand in Real Life
GarageBand isn’t just for making pop songs or demos; it’s used by all sorts of creative folks:
- Cover Songs: Simple backing tracks make it simple to sing along or jam to your favorite tunes on guitar, keyboard, or vocals.
- Beat Making: Dragging loops and recording MIDI lets you start making beats in hip hop, EDM, and even indie styles with minimal equipment.
- Podcasting: GarageBand’s simple editing tools help you put together interviews or drop in sound effects for spoken word projects.
- School Projects: Students use GarageBand to add music to video assignments or record their own audiobooks and fun skits for class.
Personally, I’ve used GarageBand for quick instrumental demos, quick podcast edits, and even for mixing old tapes into clean digital versions. Its versatility and no-fuss approach make it a great tool whenever you want to record or tidy up audio fast—without having to become a pro right away.
Frequently Asked Questions
If you’re new, you might be wondering:
Question: Do I need extra equipment to use GarageBand?
Answer: You can use GarageBand with just your Mac, iPad, or iPhone—no extra gear needed. Adding a MIDI keyboard or USB mic can help, but you can get a lot done with built-in tools.
Question: How do I share my GarageBand songs?
Answer: When you’re ready, hit the Share menu and choose Export Song to Disk to make an MP3 or WAV file for emailing or posting online.
Question: Is GarageBand good enough for making professional music?
Answer: Plenty of hobbyists and even some pros use GarageBand for demos, podcasts, and rough mixes. It’s got enough power for learning and personal projects. If you need more features, you can move up to Logic Pro later on.
Key Tips to Keep in Mind for New GarageBand Users
Getting a good feel for GarageBand might take a couple of sessions, but here are a few tips to speed things up:
- Don’t worry about knowing everything at once. Every project teaches you something new.
- Jump into GarageBand’s built-in lesson videos—they’re made for people just starting out.
- Try rearranging loops or copy-pasting regions. It’s a fast way to test out new ideas without having to record from scratch again.
- Save your work with useful names often. This makes jumping back to an older version or new arrangement a breeze.
GarageBand makes creating music or audio projects way more approachable, whether you’re starting out or just experimenting with new ideas. Each song or podcast you make is a chance to try something different and get hands-on learning. That’s the best route to getting comfortable with any music software.