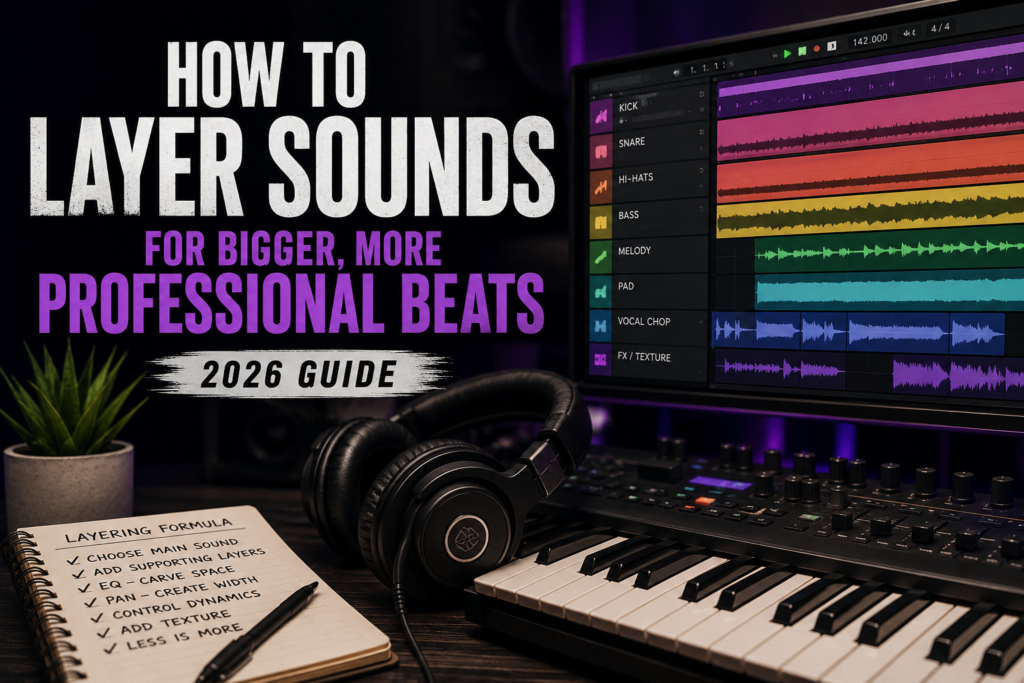
 Whether you’re producing hip-hop, R&B, trap, pop, or lo-fi, one technique separates amateur productions from radio-ready records: layering.
Listen closely to songs from producers like Metro Boomin, Boi-1da, Mike Dean, Hit-Boy, or The-Dream. What sounds like one massive snare or one lush synth is often several carefully selected sounds working together.
The secret isn’t adding more sounds just for the sake of it—it’s combining complementary layers that each serve a purpose.
In this guide, you’ll learn how to layer drums, melodies, bass, and textures to create bigger, fuller, and more professional beats without turning your mix into a muddy mess.
What Is Sound Layering?
Layering is the process of combining multiple sounds into one cohesive instrument or musical element.
Instead of relying on a single kick drum, piano, or synth, producers stack sounds together to achieve:
- More impact
- Greater depth
- Better stereo width
- Richer harmonics
- A more polished, professional sound
The key is making every layer contribute something unique.
For example:
A kick may provide deep sub frequencies.
Another kick may add punch.
A third sample may contribute attack or click.
Together, they create a kick that feels far more powerful than any individual sample.
Why Professional Beats Sound Bigger
Professional producers understand that every frequency range should feel complete.
Rather than searching endlessly for the “perfect” sample, they often build one through layering.
Good layering improves:
Punch
Multiple transient sources help drums cut through a mix.
Width
Stereo elements make melodies feel larger without overwhelming the center.
Texture
Noise, ambience, vinyl crackle, and subtle effects give productions character.
Energy
Small supporting layers create movement that listeners may not consciously notice—but they’ll definitely feel.
How to Layer Drum Sounds
Drums are where layering makes the biggest difference.
Layering Kicks
Choose one kick for each job.
For example:
- Deep low-end
- Midrange punch
- High-frequency click
EQ each layer so they aren’t fighting for the same frequencies.
If two kicks occupy identical ranges, they often reduce clarity instead of improving it.
Layering Snares
One snare rarely provides everything you need.
A common approach is:
- Main snare
- Clap
- Rimshot
- Short percussion hit
Together these create:
- Body
- Snap
- Width
- Texture
Adjust each layer’s volume until they feel like one instrument instead of four separate sounds.
Layering Hi-Hats
Professional hi-hat patterns usually contain several elements.
Consider combining:
- Closed hats
- Open hats
- Shakers
- Tambourines
- Percussion loops
Keep supporting layers quieter than your primary hi-hat.
They’re there to create movement—not distractions.
Layering Melodies
Melodic layering creates emotion and depth.
Piano + Pad
One of the most common combinations.
The piano provides attack and definition.
The pad fills space and adds warmth.
This combination works especially well for emotional R&B and trap soul productions.
Keys + Synth
Electric pianos pair beautifully with analog synths.
The keyboard provides realism.
The synth contributes width and sustain.
Together they feel much richer than either sound alone.
Strings
Strings don’t always need to be the star.
Sometimes they’re most effective when sitting quietly underneath another instrument, adding emotion without drawing attention.
Vocal Textures
Many modern beats feature:
- Vocal chops
- Background choirs
- Reverse vocals
- Atmospheric vocal pads
These layers create atmosphere while helping hooks feel larger.
Layering Bass
Bass layering requires extra care.
Too many low frequencies quickly make a mix muddy.
Instead, divide responsibilities.
For example:
Layer One:
Deep sub frequencies
Layer Two:
Midrange distortion
Layer Three:
Stereo harmonics (used sparingly)
This approach allows the bass to remain powerful while staying audible on phones, laptops, and smaller speakers.
Add Texture Without Overcrowding
Some of the most effective layers aren’t instruments at all.
Try adding:
- Vinyl crackle
- Tape hiss
- Room ambience
- Nature recordings
- Reverse effects
- White noise
- Background impacts
- Transitional effects
These subtle additions make beats feel alive.
Most listeners won’t consciously notice them—but they’ll notice when they’re missing.
Mixing Layered Sounds
Layering isn’t just about adding sounds.
It’s about making them work together.
EQ
Carve frequencies so each layer has its own space.
If one sound owns the low end, let another focus on mids or highs.
Panning
Keep important elements like kick, snare, bass, and lead vocals centered.
Pan supporting textures, percussion, pads, and secondary melodies to create width.
Compression
Bus compression can glue multiple layers together, making them sound like one cohesive instrument instead of several separate samples.
Use subtle settings.
Too much compression removes energy.
Saturation
Light saturation introduces harmonics that help layered sounds blend naturally.
Even small amounts can make drums and synths feel fuller.
Reverb
Instead of placing different reverbs on every sound, try sending similar layers to the same reverb bus.
Sharing a common space helps the production feel cohesive.
Gain Staging
Before adding plugins, balance your levels.
If your layered instruments are already clipping, no amount of processing will fix the mix.
Proper gain staging leaves headroom for mastering while preserving clarity.
Common Layering Mistakes
Using Too Many Sounds
More isn’t always better.
Three purposeful layers usually outperform ten random ones.
Frequency Masking
When multiple sounds compete for the same frequency range, clarity disappears.
EQ is your best friend.
Ignoring Phase
If layered drums suddenly lose punch, phase cancellation may be the problem.
Flip the polarity on one layer or slightly adjust its timing to restore impact.
Every Sound Playing All the Time
Professional arrangements breathe.
Mute layers during verses.
Bring them back during hooks.
Adding and removing layers throughout the song creates excitement without needing new melodies.
Chasing Loudness
Layering should increase quality—not just volume.
If adding another sound doesn’t improve the production, leave it out.
A Simple Layering Formula
If you’re unsure where to start, follow this workflow:
- Choose your primary sound.
- Add one layer that fills missing frequencies.
- Add one layer for texture or width.
- EQ each sound to avoid overlap.
- Balance the levels.
- Group similar sounds into buses.
- Apply subtle compression and saturation.
- Remove anything that doesn’t improve the beat.
Keeping your layering process simple often produces cleaner, more professional results.
Final Thoughts
Layering is one of the fastest ways to elevate your productions from sounding like rough demos to polished, commercial-quality beats.
Remember that professional producers aren’t simply stacking sounds—they’re assigning every layer a specific purpose. Whether it’s adding punch, warmth, width, or texture, every element should contribute to the overall record.
The next time you start a beat, challenge yourself to build each instrument intentionally. Layer your drums carefully, combine complementary melodies, strengthen your bass with harmonic support, and use subtle textures to create atmosphere.
Over time, you’ll develop your own signature layering style—and that’s when your beats begin to stand out from everyone else’s.
Professional-sounding productions aren’t created by using more sounds.
They’re created by using the right sounds together.